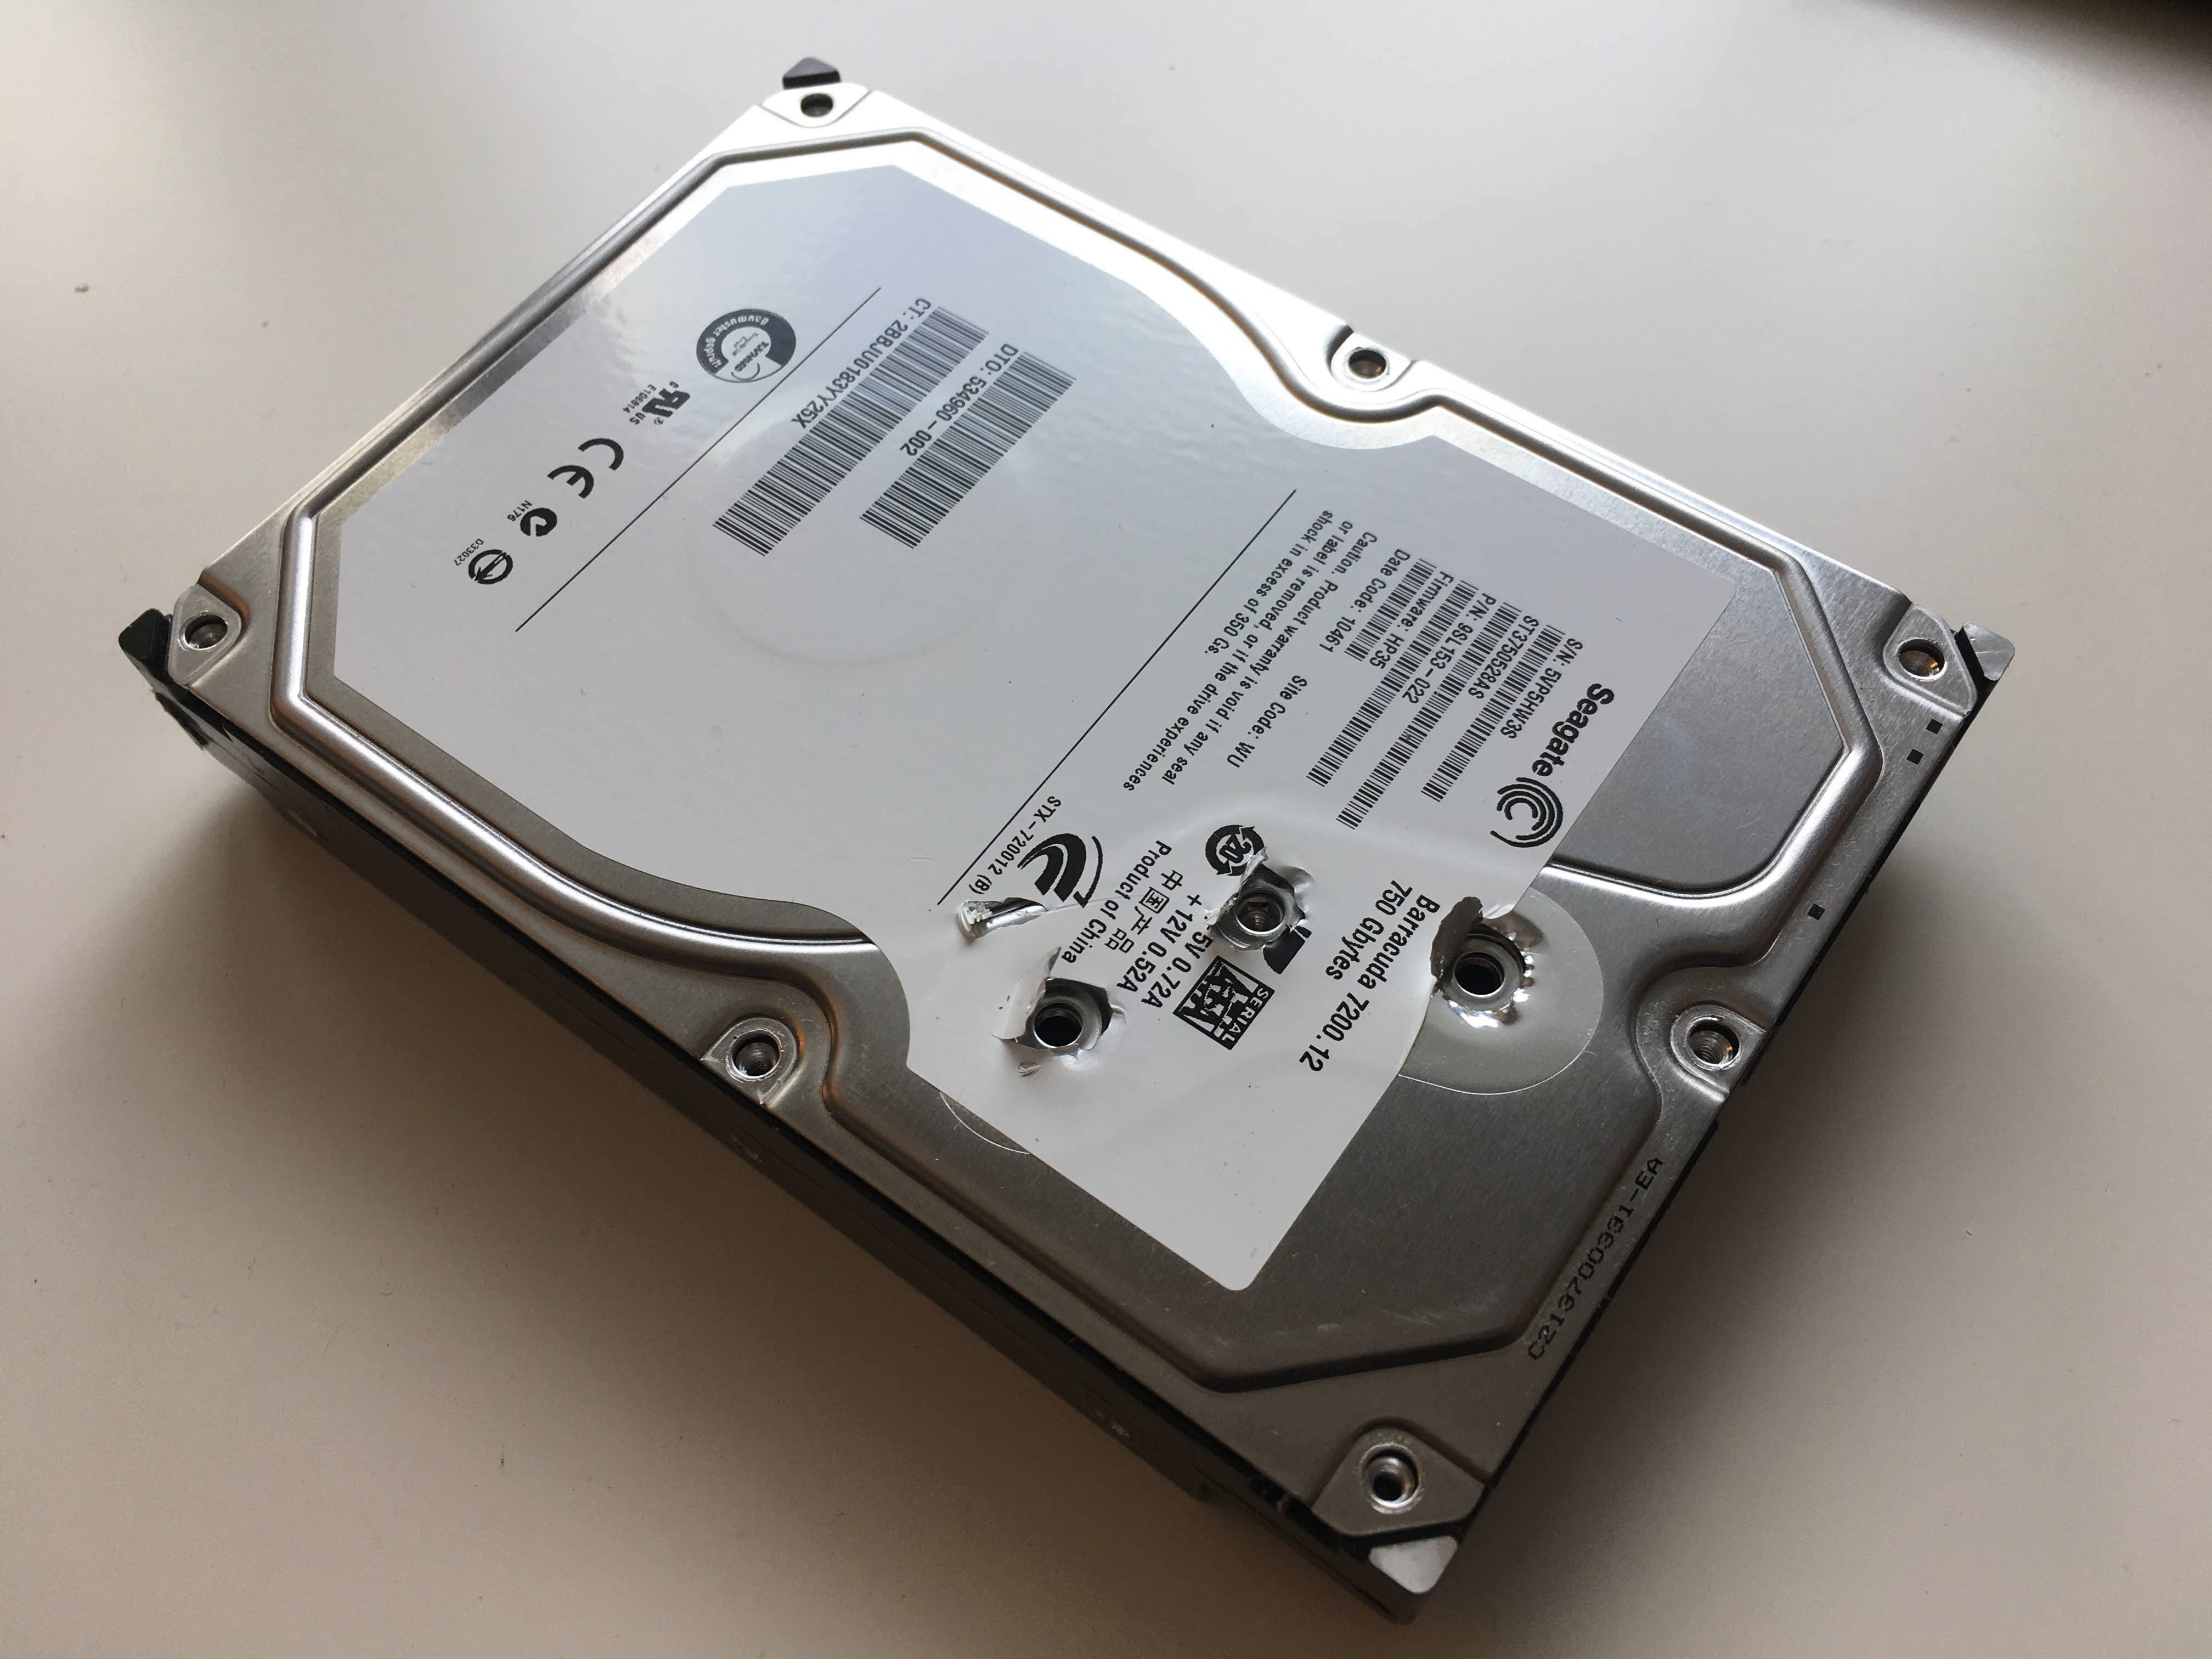
I had an extra hard drive sitting around collecting dust, so I disassembled it. It wasn't functional, so don't feel bad about it getting destroyed. It had been used for years to backup financial data for my parent's small business. I think I wiped it at some point in the past, but I was still uneasy about just tossing it in the trash. Pulling it apart and throwing it away piece-by-piece felt like a much safer way to dispose of it.
The logic board was connected to the rest of the hard drive with just some screws. It came off pretty easily. The only electrical connection between the logic board and the box with the platters in it was that little black and gold thing in the bottom-left of the platter enclosure. The contacts were all touch-contacts. There was no solder holding the logic board to the box holding the platters. You can see the logic board's contacts if you look just to the left of the large square integrated circuit in the middle of it.

Here's a shot of the other side of the logic board and platter box.

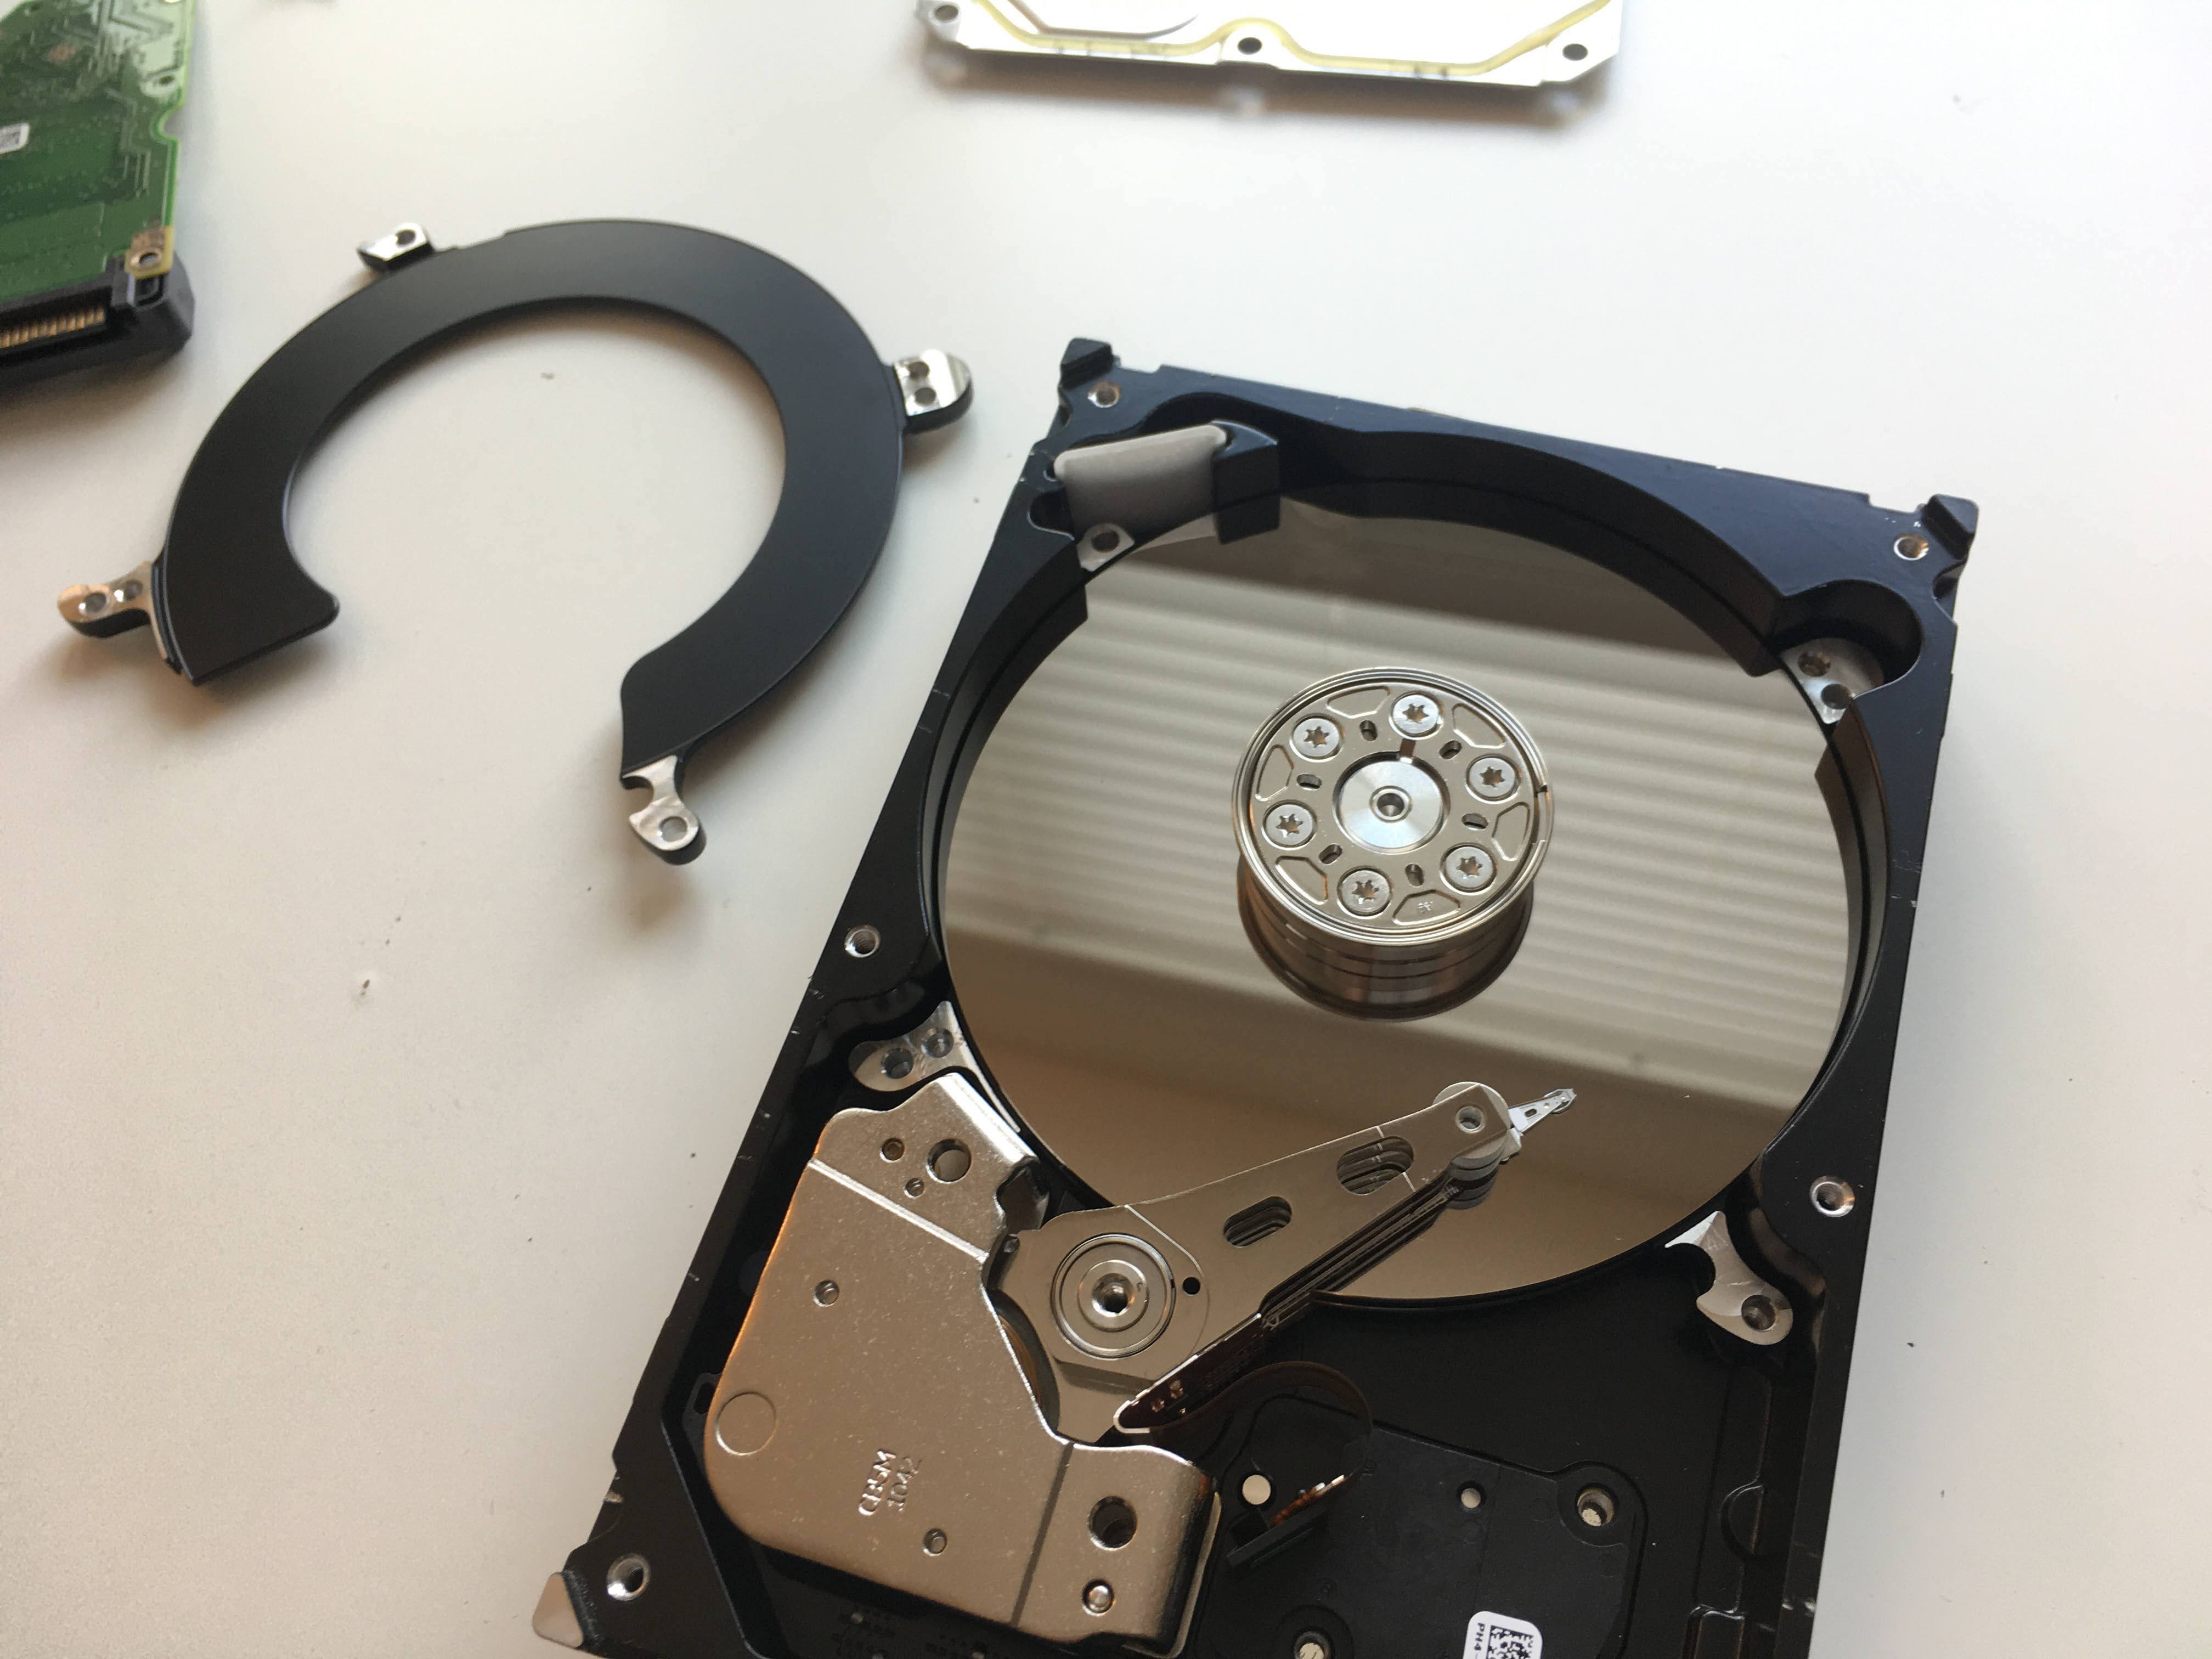
To remove the metal top of the platter box, I had to unscrew a bunch of screws around the perimeter and three that were hidden under the label. The platter box made a sucking sound when I removed the metal top. Typically hard drives have little-to-no gas inside them to keep everything super clean and reduce friction.
Here's a nice shot of the platters and the drive heads. You can see that this model has two platters, and it looks like it has room for two more. This makes me think that Western Digital probably had also had a 1.5 TB version of this hard drive that was larger the same but with two more platters.

I was astounded by how smooth the surface of the platters were. This is a close-up shot of one of the platters. It's a perfect mirror! Those plants that you see have been reflected by the surface of the platter. The silver blob on the right is the axle that the platters revolve around.

I had to remove a few more screws to pull off this black guard thing. To the top-left of the platter, there is a small white square that's standing vertically. I think it's there to filter any debris that gets into the hard drive. I think this hard drive spun its platters counter-clockwise. Any debris that landed on the platters would get thrown against the wall and forced into the small channel that leads to the back of that white filter.
Here's a close-up of the electrical connector that presses against the logic board.

These little hash marks had some small drill marks on them. This must be some kind of date code or something to track when or where this drive was manufactured.

Here's a closer look at the filter.

The filter slides right out. There's nothing really holding it in place after the top of the drive is removed.

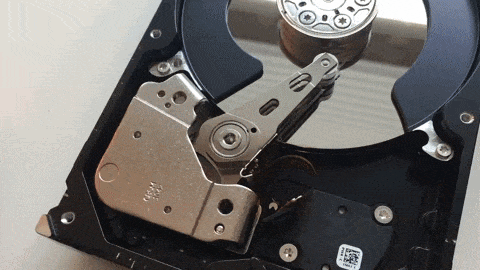
Watch the spot just below the silver L-shaped part. You can see a small plastic piece jump in and out when I move the drive head in and out of its parked position. That small black plastic piece must be part of a latching mechanism that keeps the drive head parked when the disk is turned off.
The dirve head and platter really are magnetic! If I left the drive head's arm, the drive head stays stuck to the platter.

Those are all the best photos I got from disassembling my hard drive. I hope you like them!
Photo by Dan-Cristian Pădureț